Recipe: Mbongo-Chobbi With Pork
As you know (if you are not new here), I share my experiences and life in Cameroon on this blog. If this is your first time here you are welcome to my blog. Please subscribe to my blog on your left sidebar so that we can be one family.
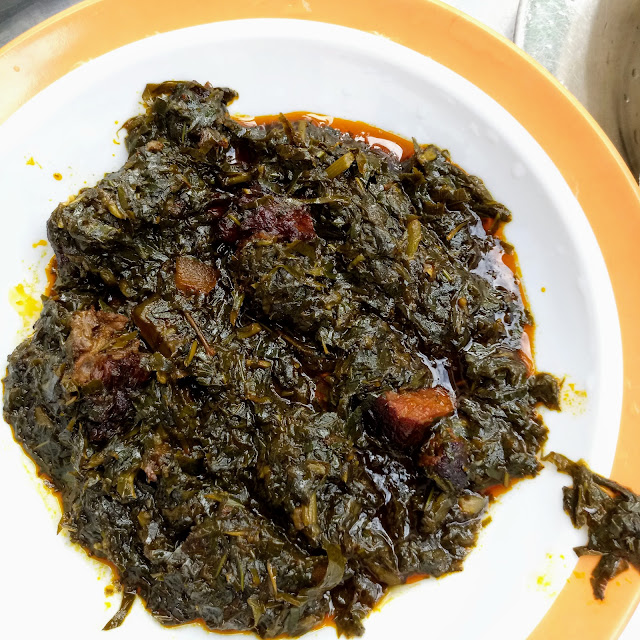
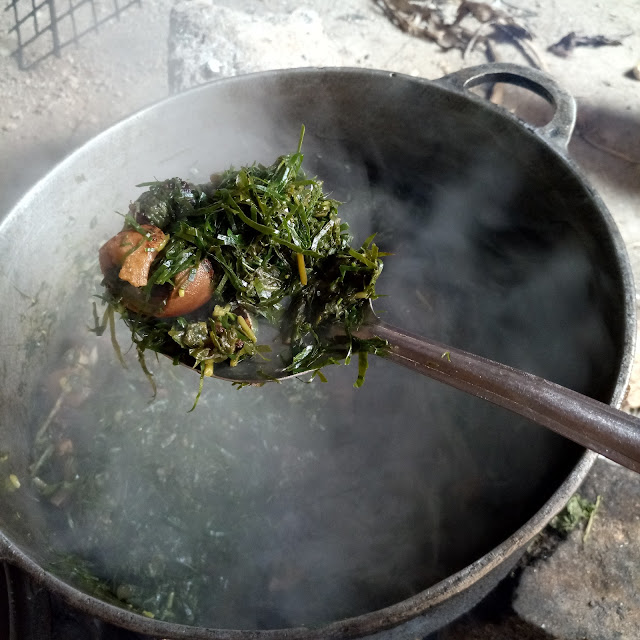
Today, we are cooking Mbongo-Chobbi. This is a very easy meal to cook. It is basically a soup which is cooked with two main ingredients which are Mbongo and Chobbi spices. It's usually a thick black-coloured soup (the colour may vary depending on how much the Mbongo and Chobbi are burnt).
I'm not quite sure where this meal originates from in Cameroon but I think it's from the Littoral region of Cameroon (correct me if I'm wrong).
It can be cooked with meat or fish and can be eaten with tubers like cassava and cereals like rice. That said let's get into the recipe!
How To Cook Mbongo-Chobbi with Pork
Ingredients
- Mbongo
- Chobbi
- Tomatoes
- Onion
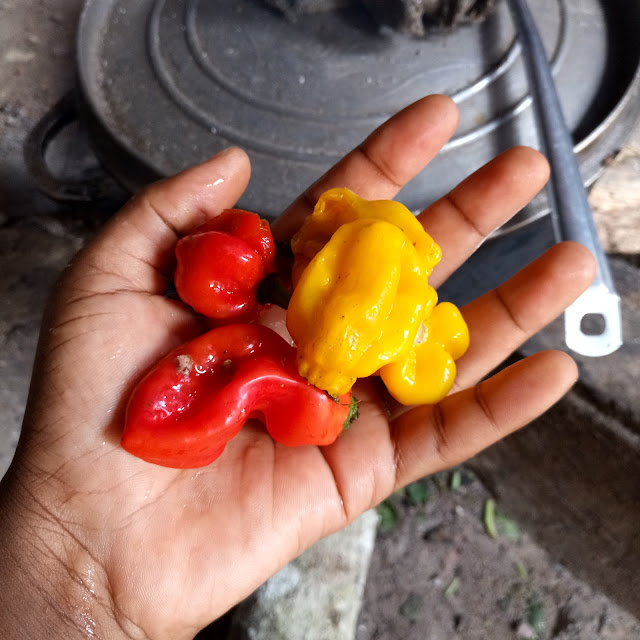
- Pepper
- Njangsa
- Deux cotés
- Quartre cotés
- Rondelles / Fullow
- Celery
- Leeks
- Garlic
- Queue de Girraffe
- Fresh ginger leaves
- Pork
Mbongo, Chobbi, Njangsa, Deux cotés, Quartre cotés, Rondelles / Fullow, Queue de Girraffe are local names for these ingredients. These are the names by which these ingredients are known in some parts of Cameroon. You can use these local names to purchase these ingredients from our markets in Cameroon. If you have any other names or other ways you call these ingredients please tell me in a comment below. For example, Fullow is the appellation in my mother tongue which is Bafut. But in the French-speaking regions of Cameroon, it is called Rondelle. Please, see pictures below to further identify these ingredients.
 |
| Mbongo (long) and Chobbi (short) |
 |
| Burning the ingredients - Rondelle and Chobbi |
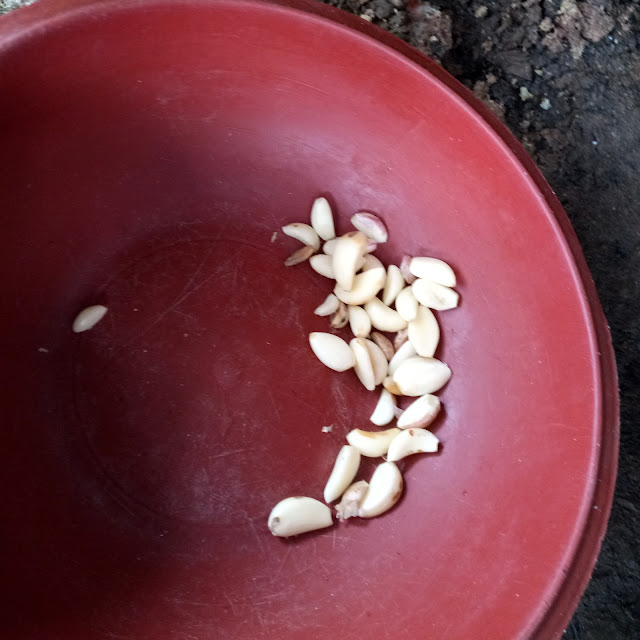 |
| Peeled garlic |
 |
| Fresh ginger leaves |
 |
| Deux cotés, Njangsa, Quartre cotés |
 |
| Queue de Girrafe |
 |
| Garlic and Onion |
 |
| Pepper, Celery, Leeks and Shallot |
Cooking
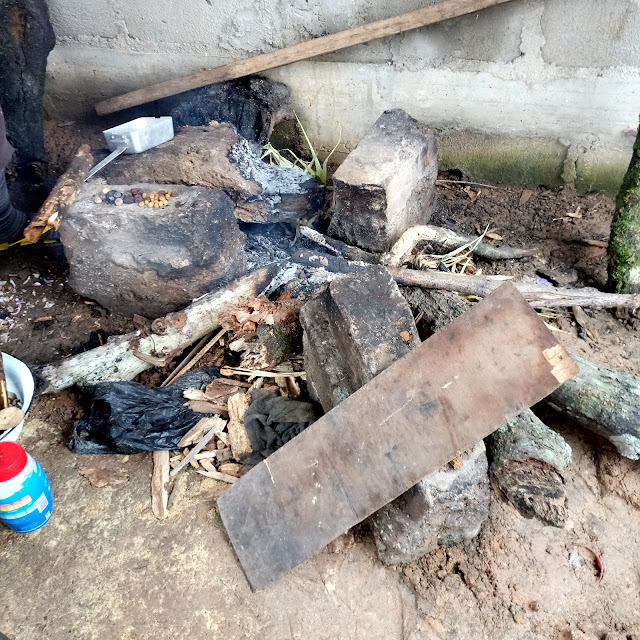
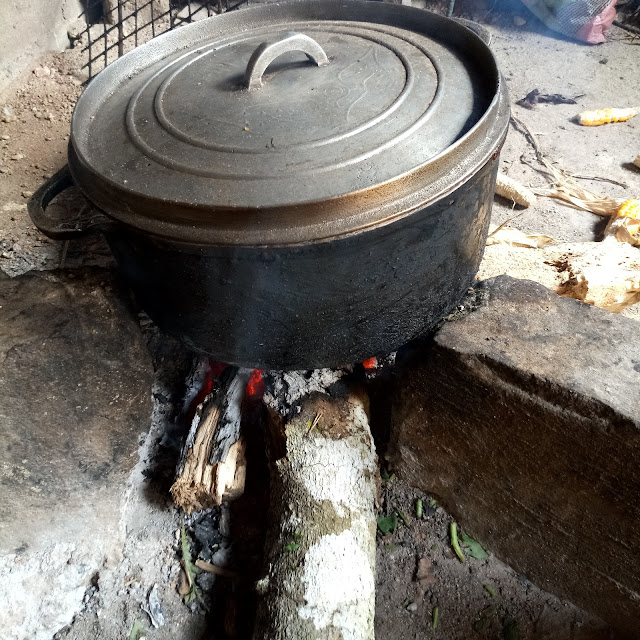
- Burn the Mbongo and Chobbi ingredients until the outer skin is black. Take note that the more you burn these spices the darker the soup will be. So the degree to which you burn it should depend on how dark you want your soup to be. You can do this on a firewood fireplace or a gas fire.
- Peel the cassava and cook while preparing the ingredients.
 |
| Cassava |
 |
| Peeled Cassava |
- Mix the boiled pork with your ground ingredients.
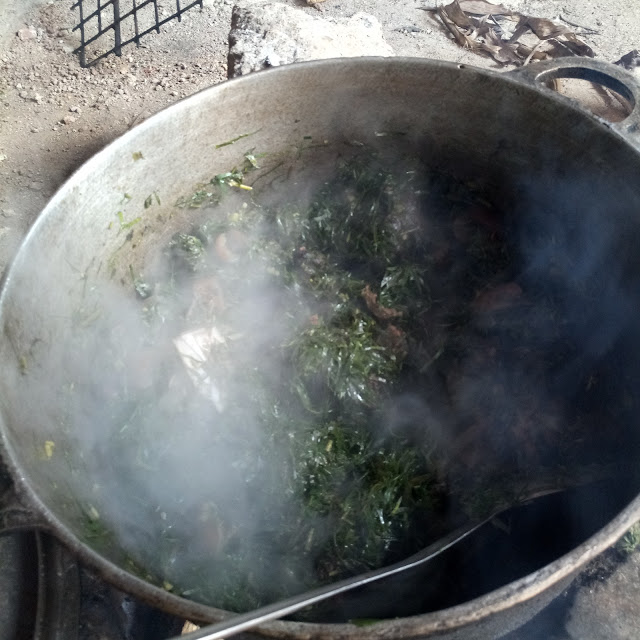
- Heat some oil in the pot and throw in some of the fresh ginger leaves into the hot oil alongside a small quantity of the ground ingredients to bring out the flavour of the soup.
- When the flavour comes out add the rest of the ingredients with the pork to the oil and stir.
- Add seasoning. Let it cook till it's ready.
- Serve with Cassava or rice.
 |
| Heating the oil |
 |
| Ground ingredients and boiled meat |
I hope you enjoy this meal and share it with your loved ones. Remember to be moderate with the ingredients because putting too many ingredients may make the soup taste bitter or too spicy.
Eru Recipe
Today, we are cooking a meal loved by many Cameroonians. We are cooking Eru.
Eru is a meal that originates from the Southwest region of Cameroon and today it is eaten and enjoyed by so many Cameroonians in all ten regions.
It is very common to see Eru on the menu of most local restaurants and the price of a plate of Eru starts from 500frs CFA.
/div>
- Wash meat and Canda and put on the fire to boil. Don't put too much water to boil the meat.
- Wash Eru let the water drain then wash and slice the waterleaf.
- Add waterleaf to the pot of meat and canda. Let it cook till the waterleaf is soft.
- Add the Eru to the pot and let it boil. Cook till it's softer. Some people like it black while others like it still green. I like my Eru black so I cook it longer.
- Keep stirring as it cooks so that it doesn't burn and to get a homogenous mixture.
- Add seasoning. Taste.
- Add pepper.
- Add ground crayfish and stir.
- When the water is almost dry, add oil and cover the pot without stirring. Let the oil get hot in the Eru before you stir. This will make the oil float and the Eru shiny.
- Take the pot off the fire when the smell of the oil has disappeared.
- Serve with water fufu, garri or nkum-nkum.
Eru is that meal that when you cook during an occasion, almost everybody will want to eat and there will be no leftovers.
If you want to enjoy Eru, the best way to do so is to learn how to cook it. I will be sharing with you today how to cook this delicacy so that you can try cooking it yourself if you enjoy eating this meal.
Let's start cooking!
Ingredients
- Eru
- Waterleaf
- Meat (fresh or dry meat)
- Canda (Cow skin)
- Palm oil / Red oil
- Seasoning (Maggi and salt)
- Pepper
- Crayfish
 |
| Waterleaf |
Cooking
- Wash meat and Canda and put on the fire to boil. Don't put too much water to boil the meat.
- Wash Eru let the water drain then wash and slice the waterleaf.
- Add waterleaf to the pot of meat and canda. Let it cook till the waterleaf is soft.
- Add the Eru to the pot and let it boil. Cook till it's softer. Some people like it black while others like it still green. I like my Eru black so I cook it longer.
- Keep stirring as it cooks so that it doesn't burn and to get a homogenous mixture.
- Add seasoning. Taste.
- Add pepper.
- Add ground crayfish and stir.
- When the water is almost dry, add oil and cover the pot without stirring. Let the oil get hot in the Eru before you stir. This will make the oil float and the Eru shiny.
- Take the pot off the fire when the smell of the oil has disappeared.
- Serve with water fufu, garri or nkum-nkum.
How To Cook Your Own Khoki Beans
Khoki beans is a meal made from beans commonly known as black-eyed peas. It is a meal enjoyed by many Cameroonians. It originates from the North West and Western (Bamileke) regions of Cameroon. The Bamileke cook Khoki without putting any leaves or vegetables inside but in the North West region cocoyam leaves are added to it. The North West version of Khoki is also very fluffy and light like cake.
This is how to cook Khoki beans like the people from the North West Region of Cameroon
Ingredients
To cook Khoki beans, you will need the following:
- Tying leave. It could be plantain or banana leaves or the leaves you can see in the picture below.
Unfortunately, I don't know the name of the plant that produces these leaves. It is mostly used to tie and cook food in the French-speaking regions of Cameroon like the Centre and South Regions while Banana and plantain leaves are used in the North West and South West Regions.
- The next ingredient is cocoyam leaves. As I said earlier, cocoyam leaves are added to the recipe of Khoki in the North West Region of Cameroon.
- Khoki beans which are also known as black-eyed peas. I didn't make a picture of the beans before grinding it but here is the paste of the ground beans. It is reddish because I added some pepper to it before grinding.
- You'll also need some salt and palm oil.
Cooking
- Soak beans overnight or for at least 8 hours.
- Peel the beans and wash it well.
- Grind the beans into a paste. You may add some pepper to the beans before grinding if you want some pepper.
- Without adding any more water to the paste after grinding, use a pistle to stir the paste in a circular motion very fast. This is will create air spaces in the paste, make it rise and also make the Khoki be fluffy.
You can stir it in a mortar. I didn't have a mortar at the time I made this recipe so I simply stirred it in a container.
- When the paste rises it means enough air has entered the paste. You can now start tying the paste in the leaves. But make sure that you keep stirring the paste until you tie up the last bundle so that the air stays in the paste.
>
- Wash and warm the leaves over fire or vice versa. With the leaves I used, I had to wash them thoroughly before warming them over a fire. The banana or plantain leaves are warmed first before cleaning them with a damp cloth because they are more fragile and often less dirty. Warming the leaves prevents it from tearing easily.
- Prepare the pot to steam the Khoki beans. Use the stems from the leaves and put under the pot. Add some leaves on top of the sticks and make sure that you don't put much water so that it doesn't enter the Khoki beans.
- After warming the leaves, fold them inside a bowl as you create space to put in the paste. It's better to double the leaves to prevent the paste from spilling out easily.
- Cut the leaves into smaller bits before adding to the paste.
- Pour in a proportionate quantity of the paste in the leaves and add some cocoyam leaves and palm oil and mix before tying each bundle.
- Tie the paste in bundles. You can make various sizes.
- Cover the pot with some leaves before placing the lid in order to lock in the heat then leave it to cook. I never time the pot but I leave it to cook for a long time because steaming is a slow method of cooking and beans do take a while to get cooked.
- Check the pot from time to time and add water when it dries up. Add water into the pot by pouring it to the sides and not directly on the food because the water may get into the bundles and spoil the Khoki beans.
- You may add your tubers to the pot and let it cook with the Khoki beans.
- When it's ready, untie it from the leaves and serve it with any tuber or roots of your choice. Khoki beans is usually eaten with cassava, unripe bananas, plantains, cocoyam and sweet potatoes.
-You can serve it sliced or in a full bundle. Khoki beans is good for a home meal and also for parties.
Hope you try this recipe and enjoy your meal.
Daring To Be A Fashion Blogger - OOTD
When I started blogging, I did it anonymously.
I was so afraid to be identified as the one behind my posts though they were not controversial in any way. But I was scared.
Blogging was new to me and I was afraid of being judged because I was putting my thoughts out there.
But I got over that and started putting myself on my blog.
I felt the same fear when I decided to blog about fashion. But I dared myself to do it.
When I took these pictures and posted them on my Facebook account, I received a lot of mixed reactions. Some people asked me if I was trying to become a model or why I was taking pictures with strange poses.
Honestly, their comments were shocking to me but I decided to put them aside.
I was determined to post these pictures on my blog even though I felt a little mockery behind the comments I got earlier.
This post is just the beginning of many more fashion posts to come. It is not my first fashion post but it has made me more determined to blog about fashion.
I admire fashion bloggers. It was hard to understand them at first like others don't understand me. So I get it.
I love dressing up and taking pictures of my outfits to show the world how I mix and match my clothes. So fashion is an important part of my lifestyle blog. I hope you enjoy my fashion-related content.
My Look
What I was aiming for with this look was a smiley soft ladylike look. Just looks like a lady but in a simple way.
The off-shoulder top made me feel very feminine so I felt like a lady. The skirt is a very soft jean-like material and the belt brings out the shape around my waist, making it more fitting.
My shoes match the skirt because they are also made of jeans material.
Accessories stood out with this bold necklace and brown-wood bangles I wore. I believe the necklace made the top look better and stand out more.
Finding The Courage To Follow Your Dreams - OOTD
When it comes to following your dreams and being what you really desire to be, there are many factors to consider.
But one of the most important factors is the courage to follow your dreams.
It takes courage to become who you want to be. Courage to work for your dream. Courage to face the obstacles on your way. Courage to fight discouragement. And the courage to stay strong as you persist.
For you to succeed in whatever you do you need lots of hard work and the courage to start. So, find the courage to follow your dreams.
My Look
I'm wearing one of my favourite skirts. I love the colour and how it makes me look classy. I styled it in another post. Click here to see.
My top is a see-through fishnet blouse from the brand Atmosphere. I love the embroidery on it made with beads.
Look details
How To Make An All-Black Outfit To Look Classy - OOTD
Wearing all-black can be tricky. Black being a neutral colour can make you look very simple. That's why it is important to learn a few tricks that will make you look classy and stylish in your all-black outfits.


How To Make An All-Black Outfit To Look Classy
1. Mix fabrics
Mixing fabrics make your outfit interesting. Different fabrics like lace, cotton, leather, mercury and satin will make your look better when put together.


2. Be strategic with jewellery
Wearing all-black may make you feel like putting on many pieces of jewellery but that is not necessary. You rather need to minimize the jewellery and make sure you wear it where it will look best.


3. Add a pop of colour
Make a statement with just one other colour added to your all-black outfit.
For this look, I'm wearing this really sexy lace top with my favourite palazzo trousers of all time. The legs of these tousers are really wide and that's what made me love them a lot. The fabric is quite thick so I decided to wear it with a lace top.
Another detail I love about this look is my chain belt which makes me look like a rich aunty lol and the red bag which adds a pop of colour to the look.
My shoes are mercury and the shine from it makes it stand out as well.
Subscribe to:
Posts
(
Atom
)











.png)


